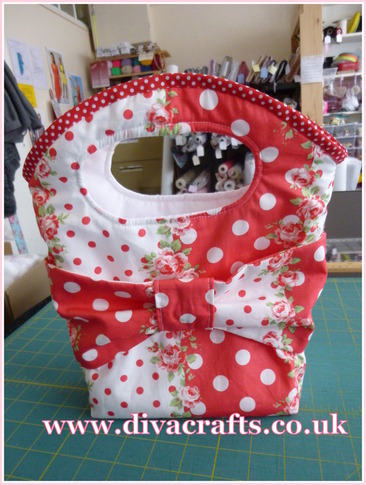
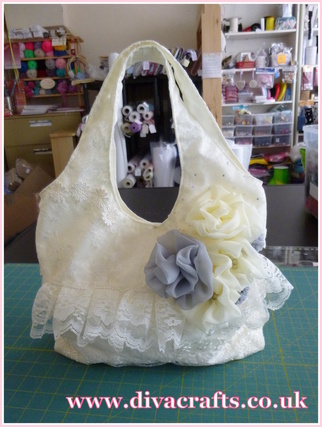
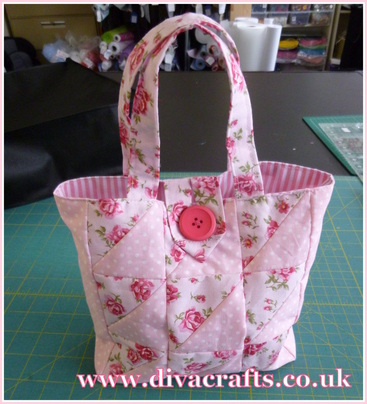
Hi everyone, for this month's project we are making a bag with a bow! You will need: Wadding, fabric of choice for the outside and inside of the bag, sewing machine scissors, and strips of fabric to make a bow.
Step 1: I created the template for the bag by myself, by drawing an oblong and then using a dinner plate to create the round shape at the top, and cutting out a oblong with rounded edges as the handle shape. You will need to cut out 2 of each of the folloing: wadding, outer fabric (ours is red) and inner fabric (ours is white). One piece of oblong outer fabric that is slightly wider than the bag, and 1 long narrow strip to make the bow.
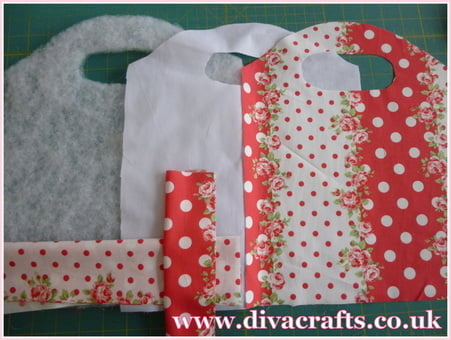
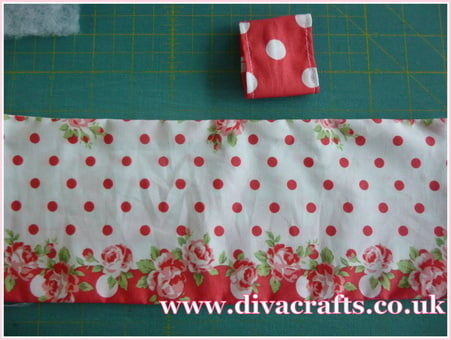
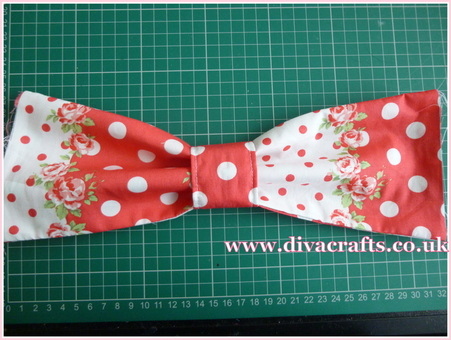
Step 2: To make the bow take the long narrow piece of fabric, put the right sides together and sew along the long edge, and then turn the right side out. Take the smaller piece of fabric and hem each side and the join together so you have a circle. Then thread the smaller piece over the long piece to create the bow.
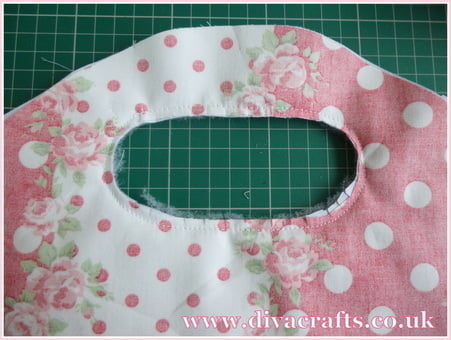
Step 3: Take 1 piece of wadding, 1 outer and 1 inner fabric. Place the wadding first, then outer fabric, ( right side facing you) then the inner fabric ( the reverse side facing you ) and machine around the 'handle hole'. Clip the edges of the inside of the handle hole to help for turning. Now turn the outer (ours is red) fabric through the handle and it should have a neat finish. Now do the same with the other 3 pieces.
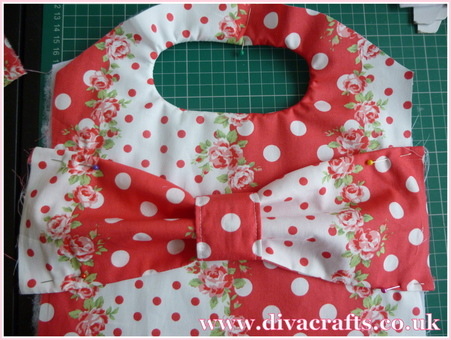
Step 4: Now place the bow on the front of the bag and machine stitch at the very edge to keep it in place. Take the outer fabric and place wrong sides together and now sew along the sides making sure you have sew over the bow. And now sew along the bottom.
Step 5: Now take the wadding and the inner fabric (treat as one fabric) sew the sides together but leave the bottom open for turning. Turn, then sew the bottom up. I then pushed the inner fabric into the bag, and then finished the top off with some bias binding.
